You have a server at home and want to access it from afar. Look no further, here is your answer.
After this tutorial you will be able to connect from anywhere in the world to your homeserver and acces your apps with a normal DNS and SSL route like:
https://nextcloud.example.com
neat.
Step 1.)
you need a VPN connection to your local LAN.
In my case I have a Fritzbox and can just add a Wireguard connection to it and add it in Ubuntu.
Step 2.)
you need a domain or a sub-domain. In my case I registered a cheap domain, but you can also use a sub-domain.
example.com
or
myhomelab.example.com
You then create an DNS A record wildcard for your local IP like so:
*.example.com 192.168.178.42 (homelab server local ip)
Step 3.)
Setup a (wildcard) SSL self signed certificate with your reverse proxy.
*.example.com
Step 4.)
add your apps to your reverse proxy:
e.g. nextcloud.example.com (fallback to wildcard SSL certificate)
Step 5.)
download the wildcard SSL certificate and import to your browser:
Et voilá, you now can connect to your local stack via SSL and DNS and not getting any “this is not safe” messages from your browser.
And you don’t need to remember the IP and all the ports of your apps! Enjoy!
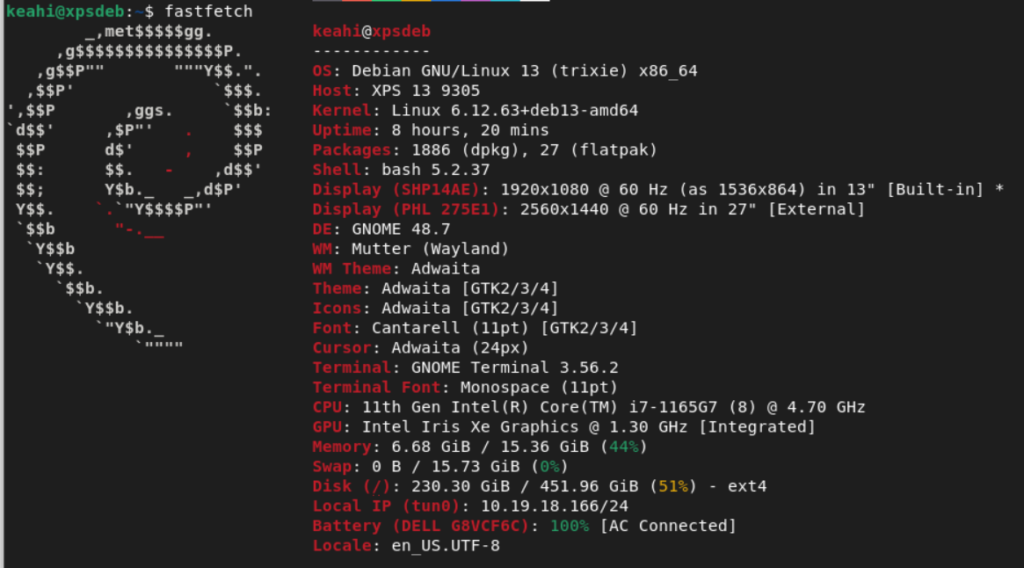
If you want to have all details of your server/pc, you can use fastfetch. Neofetch is no longer actively maintained and therefore removed from debian 12 and more recent versions.
So the first thing I did this year was to see what I can do more with my Nextcloud instance.
Turns out there are some more useful apps to use.
I ditched all other Bookmark apps which I tried in the previous months (Linkwarden (1GB RAM when Idle? no thank you), Linkace etc.) and installed the Bookmark app in Nextcloud.
You can even Sync your Nextcloud Bookmarks to your Browser (Chromium based) and Android Devices via floccus which is kinda nice.
So my current Nextcloud Essentials setup looks like this:
Nextcloud Server Apps:
Mail
(you can add multiple email accounts from different providers)
So I ditched UmbrelOS because it is not for me and it is not really FOSS.
I bought a new Geekom A8 Mini PC with 32GB/2TB and an external 5TB HDD. I like it a lot. It is really small and also very quiet. So perfect to put it somewhere in your home.
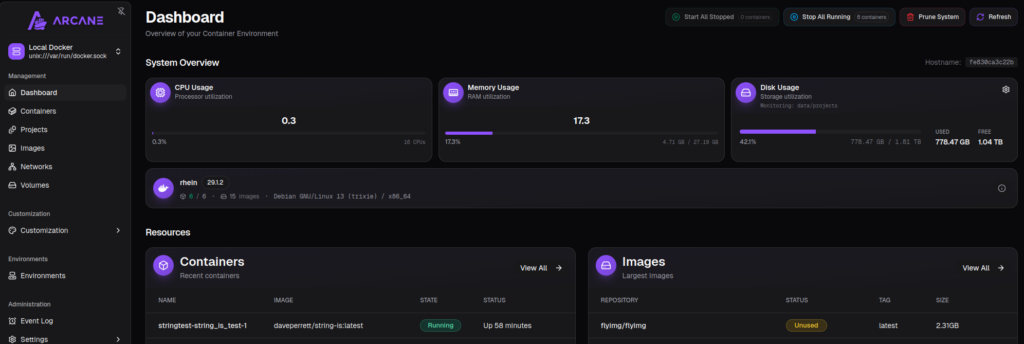
I installed Pocket-Id ✅ and Zoraxy ✅ (reverse proxy) via Arcane, so I now can connect to my local apps via Passkey (Bitwarden) and have HTTPS/SSL also working.
I installed a Bitcoin Node ✅ and Electrum Server (Electrs ✅) via CLI.
Then I installed mempool via Arcane, and now I have my own Blockchain Explorer locally.
Next will be to install BtcPayServer.
Other Self-Hosted Apps which I’m currently using:
Linkace ✅
Nextcloud ✅
file sync / photos, documents, backups etc.
mail
tasks webapp
notes webapp
calendar
contacts
CardDav/CalDav
DAVx5 ✅ – Sync between Android Client and Nextcloud Server
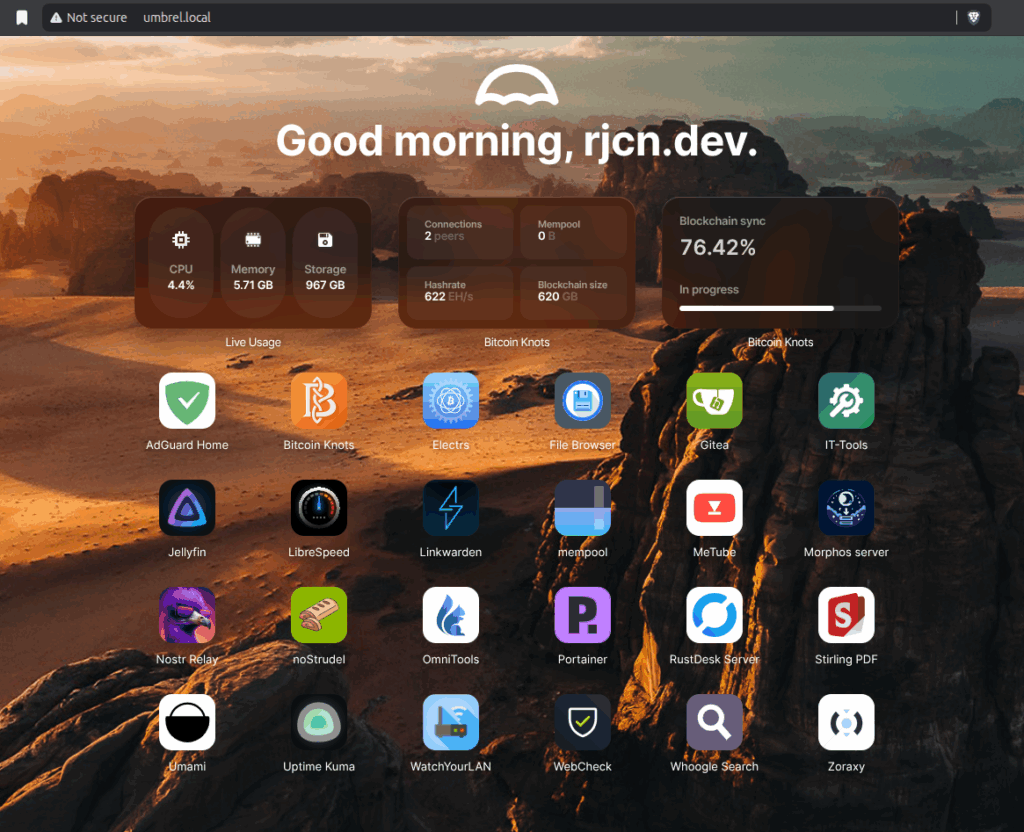
currently I’m running umbrelOS on my RaspberryPi 5 locally on my home server.
My goal was to access installed apps from the internet with SSL and a valid (sub-)domain like so:
https://wordpress.example.com

routing to local umbrel IP and Port of wordpress or any other app you want to install ->

http://192.168.1.25:8567
Here is how to do it:
⚙️ Prerequisites
umbrelOS installed and running (e.g., on Raspberry Pi or Debian server)
Zoraxy installed as an Umbrel app (via Umbrel App Store)
A domain or dynamic DNS address (e.g., example.com or umbrel.example.com)
Access to your router for port forwarding
Basic understanding of local IPs and ports
Small warning before you start:
⚠️ Security Risks
Opening your home server to the internet can expose it to constant scanning and automated attacks. Hackers often target weak passwords, outdated apps, and misconfigured reverse proxies. A single exposed port or forgotten app could give attackers access to your entire system.
🔐 Privacy Concerns
Self-hosting gives you control, but also full responsibility. Any mistake in network or DNS configuration could accidentally leak private information or make internal services publicly visible.
If you don’t know what you are doing then please first get comfortable with network security.
Funny story:
I set this up yesterday, and when i checked Zoraxy this morning I already saw multiple unknown IP addresses from various countries which where trying to scan my local setup.
If you want to be on the safe side you can check out Cloudfare Tunnel.
🔌 Step 1: Configure Router Port Forwarding
To make Zoraxy reachable from the internet, you’ll need to forward two ports in your router:
External Port
Internal Port
Target Device
Description
80 (HTTP)
41080 (Zoraxy)
Umbrel IP
Redirects to HTTPS
443 (HTTPS)
41443 (Zoraxy)
Umbrel IP
Secure access
⚠️ Important: Don’t forward any other ports (like 8567 or 22). Zoraxy will handle the routing internally.
⚙️ Step 2: Access Zoraxy Dashboard
On your local network, open http://umbrel.local:8000 (or by local IP, e.g. http://192.168.1.42:8000)
Login with your Zoraxy admin credentials.
Go to Create Proxy Rules.
Step 3: Add the domain for your App
Example of domain matching keyword: aroz.org Any acess requesting aroz.org will be proxy to the IP address below
Subdomain Example of subdomain matching keyword: s1.aroz.org Any request starting with s1.aroz.org will be proxy to the IP address below
Enter your Umbrel IP as Target IP with the Port assigned to the App you want to access e.g.:
192.168.1.42:8567
Step 4: Add SSL Certificate
Go to:
HTTP Proxy -> your site -> TLS / SSL -> Get Certificate
Enabled ACME Auto-Renewer
🧱 Step 5: Keep Umbrel Private
Zoraxy should be the only service exposed to the internet. Umbrel’s web dashboard (port 80) must not be publicly accessible.
If you notice your example.com points directly to Umbrel’s login page, update your router’s port forwarding to send port 80/443 to Zoraxy, not Umbrel directly.
🛡️ Step 6: Secure and Monitor
To keep your setup safe:
Use strong admin passwords (Umbrel + Zoraxy + WordPress)
Keep Umbrel and Zoraxy updated
Enable Zoraxy’s built-in rate limiting and auth protection
Consider using Fail2Ban or UFW firewall on the host OS
🥳 Step 7: Enjoy!
You can now access your WordPress installation at: